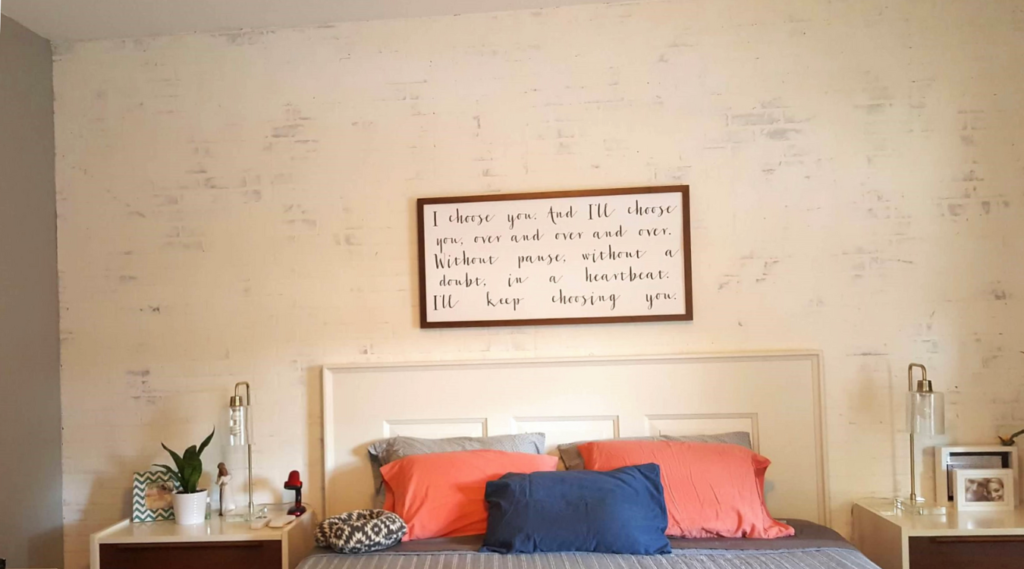
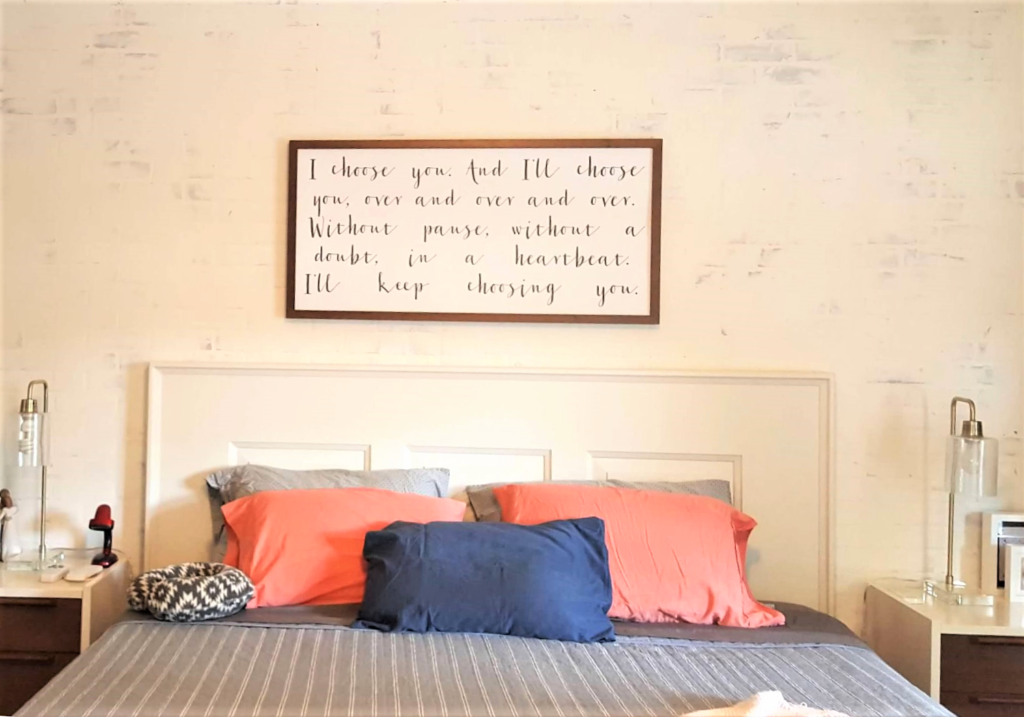
Today I’m sharing how a DIY Brick Accent wall can add some instant character to your home. This step by step tutorial will give you everything you need to do just that, using faux brick wall panels.
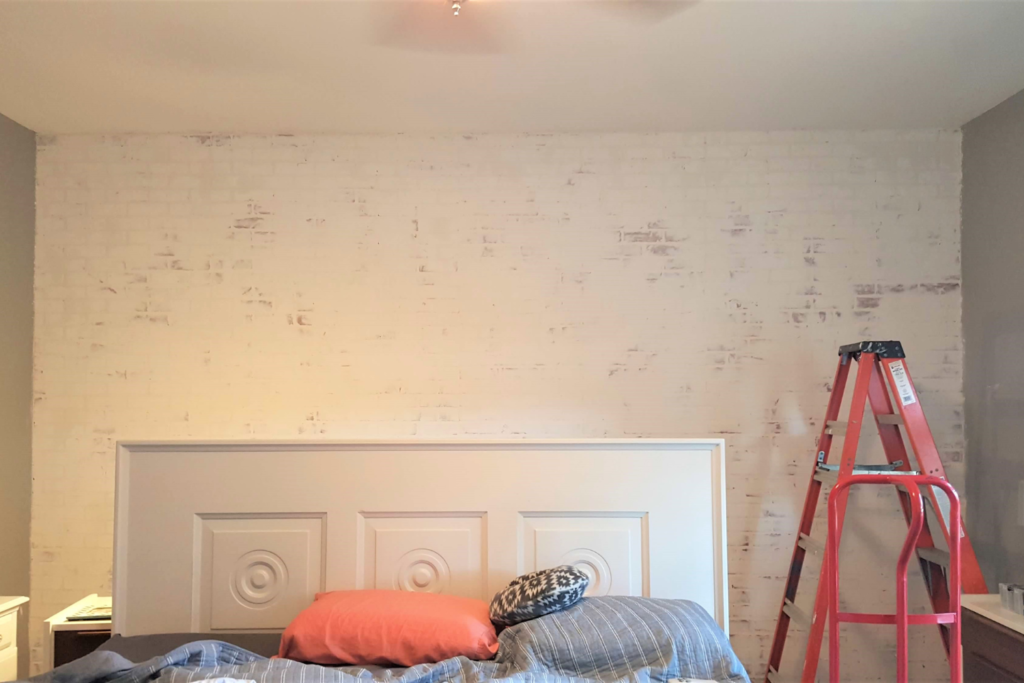
For years the wall behind our bed was blank. I knew I wanted to do something special there but couldn’t decide what. After viewing many pretty pictures on Pinterest, I decided on a DIY faux brick accent wall, and I love it!
This DIY brick accent wall adds so much character to our builder-grade house. With a few hundred bucks and some basic DIY essentials, we finished this project in one weekend.
In this DIY brick accent wall tutorial, I share how I created this brick accent wall that you can easily copy for yourself.
First, here’s a list of what you’ll need:
Paint brush and/or Roller
DIY Faux Brick Accent Wall
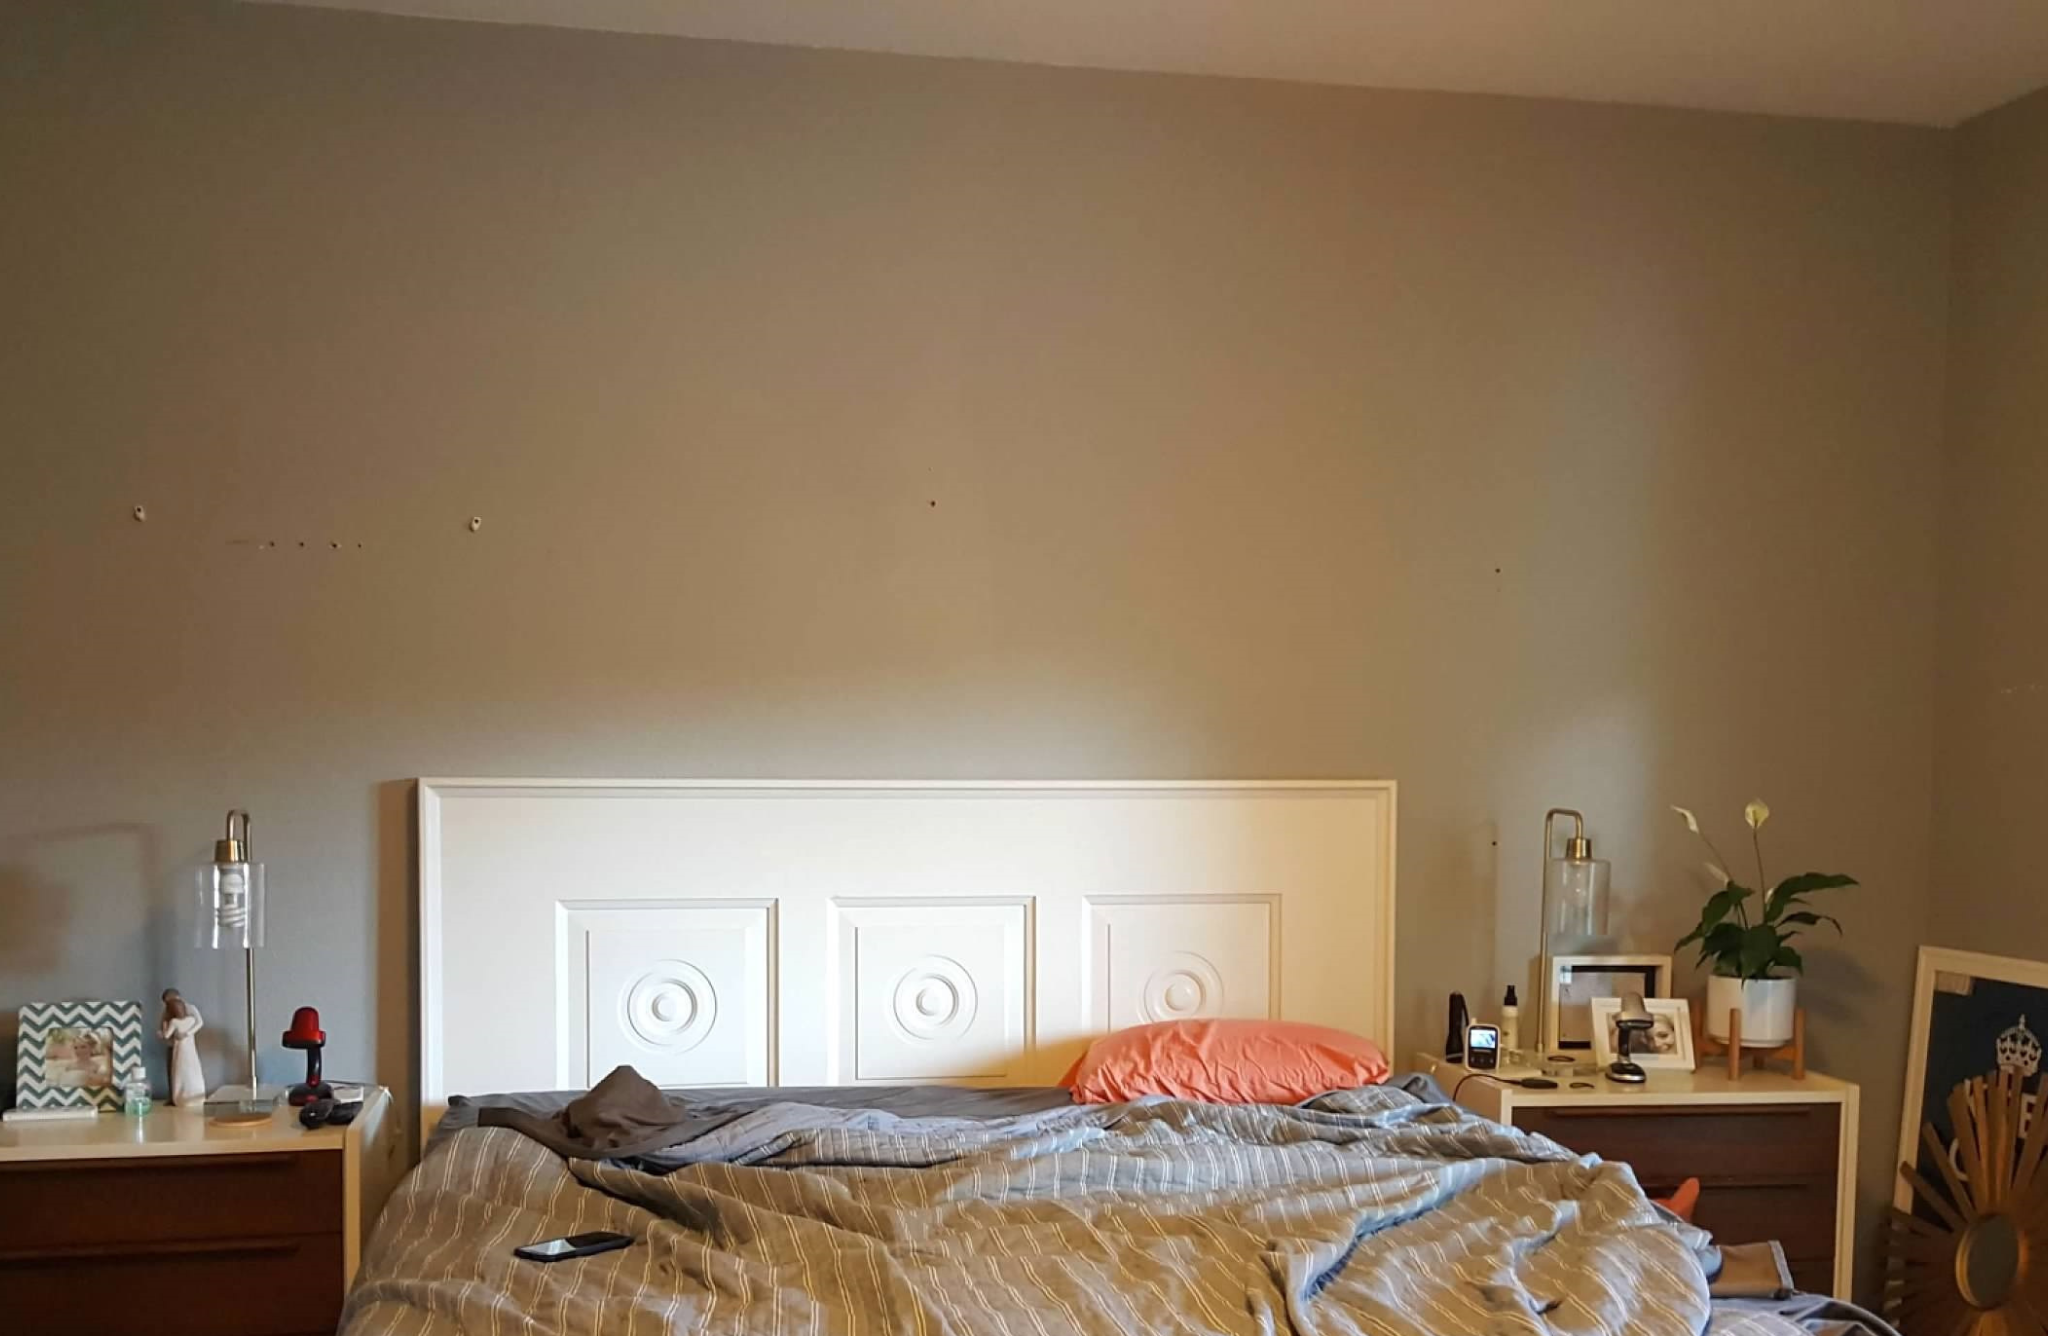
First, a look at the before..
Blah, I know!
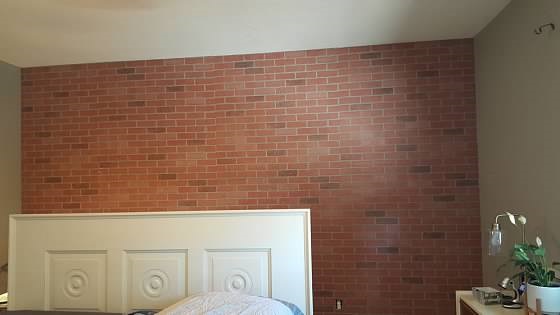
I was inspired by all the DIY brick accent walls I quickly found on Pinterest. Once I read a few tutorials from other DIYers, I was ready to dive right in! First, my husband and I found the studs and attached the faux brick panels to the wall. We also used liquid nails for some extra support to help hold these bad boys to the wall.
For this project, we used a total of 4 faux brick panels, which we bought from Home Depot. For reference, our wall is just under 15 feet wide, and 9 feet tall. This project is easier with two people since the panels are 4 x 8 and pretty heavy.
When researching the best technique for this project, some people preferred to notch out the half bricks in the panels so each panel would interlock with the next and the bricks in the pattern would line up perfectly. To me, the bricks lined up pretty well and since I was going to be smothering the panels with joint compound, I didn’t see it necessary to spend the extra time.
My husband actually really liked the way the red brick looked as is, but I had already had my heart set on whitewashing it so on to the next step I went!
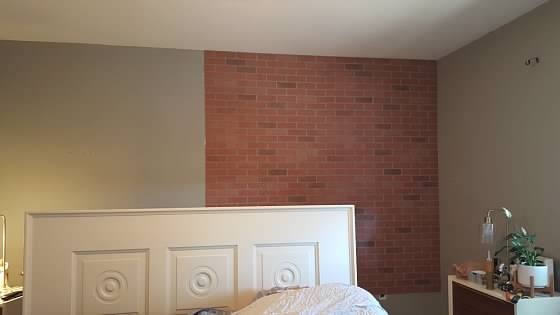
We used the Ryobi cordless air-nail gun and liquid nails to install the brick panels. Once the panels were up, it was time for the fun part, the spackle to cover it all up! We ended up buying the 4.5 gallon bucket size of joint compound. I knew I was going to use more than a small bucket size so went for the large since we could always use the leftover for future projects.
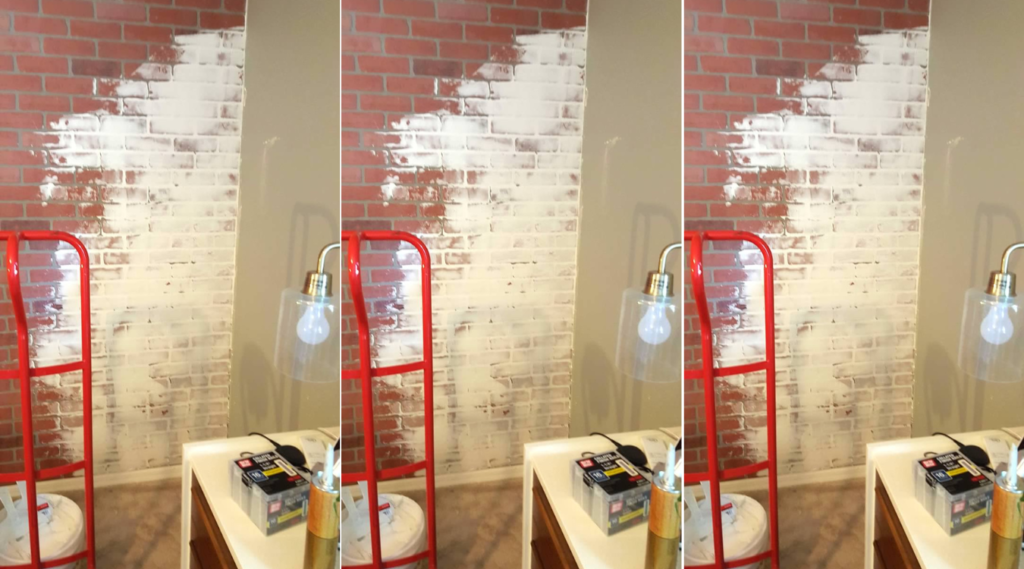
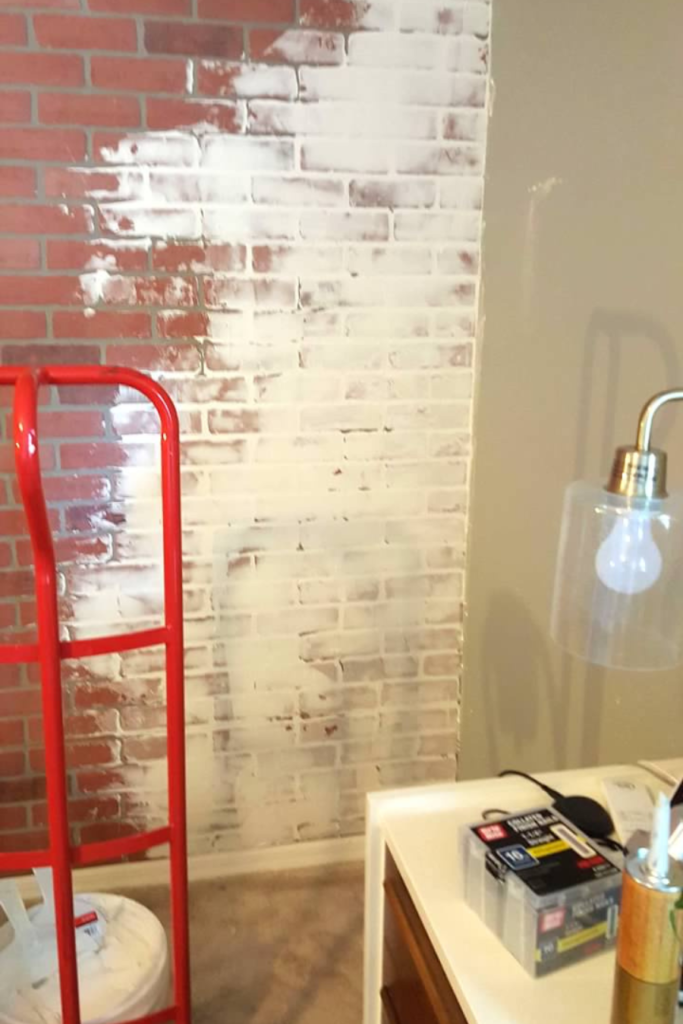
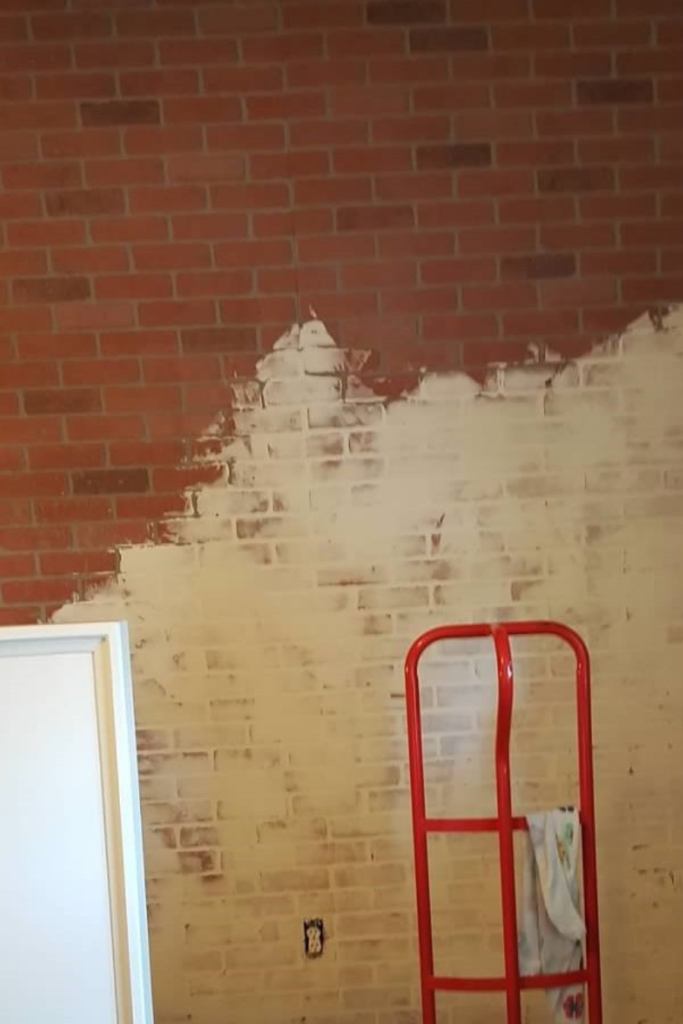
Basically what you’re doing is, grabbing your putty knife (be sure to use a plastic one and not metal, it will gouge and scrape into your brick panel), and smearing the joint compound all over the bricks. I used a drywall hawk when I was on the ladder doing the top of the wall just to save some time, but it’s not necessary. You want to apply it in all different directions to get that morter-covered look. This is what it looked like when I had all the joint compound applied to the brick panels. I knew I wanted my wall to be more white than red so I went pretty heavy with my joint compound for most of the wall. You can do as heavy or as light as you want for your brick accent wall. After the wall was covered in joint compound, I lightly sanded some off to expose some of the bricks.
You could certainly stop here and be done, but the wall is very chalky and dusty at this stage with the raw joint compound.
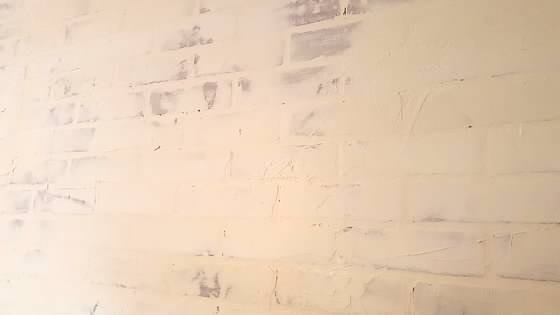
Here is a close up of some of the detail on m faux brick accent wall. Again, you can go as thick or thin as you want when you’re smearing on your spackle. As I mentioned above yo could stop here but if there’s ever a chance that someone could brush up against the wall, the white compound dust would transfer. To help negate this, I used some white paint I had on hand and watered it down to almost 75% water and 25% paint and painted it onto the wall as a sealer. You could also use a water based polycrylic sealer. Be sure it’s water based so it doesn’t yellow over time like oil based. I would suggest using a matte finish so that your brick accent wall isn’t shiny, but that’s totally up to you depending on what finish you want.
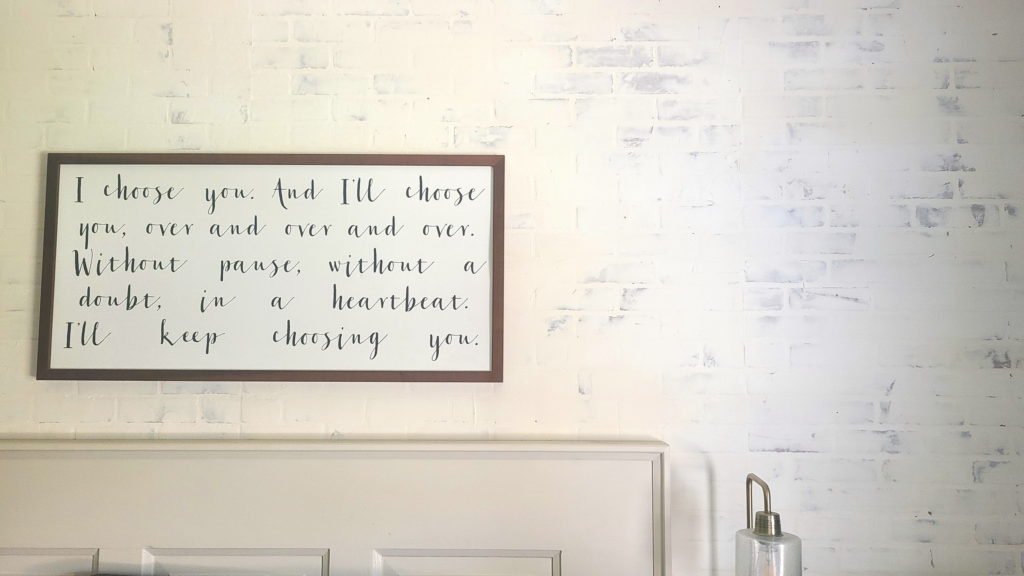
I absolutely love how it turned out! I hope that you enjoyed it and get inspired to create your own DIY brick accent wall for your space.
Thanks for stopping by!
‘Til next time!
Devan

